 Photographing multiple people in one shot can prove to be a challenge, especially when you stir a few children and the sun into the mix. The above photo is my corrected photo. Maddie and Morgan, my grandchildren, and Casey look great in this shot. Of course, that is not what the photograph looked like in the beginning.
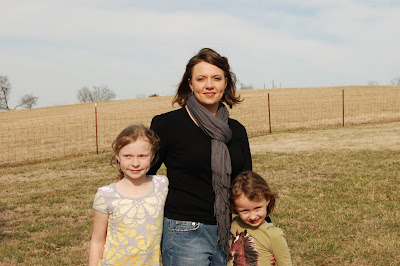 Here's the first photograph; you notice Maddie, on the right, is looking away, but Casey and Morgan look great.
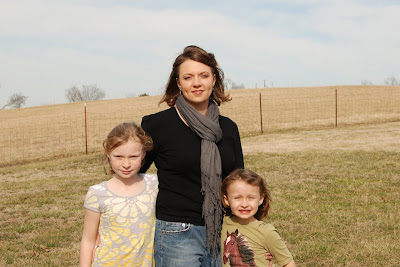 In the second photograph, Maddie looks great, however, I guess Morgan is trying too hard to get the photo session over with and her smile is a little too fake. And, of course, Casey looks great in both shots. I always ask the adults to keep smiling and looking at the camera, so I only have to focus my attention on the girls.
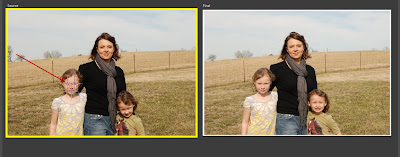 Here's what I did to combine the two photographs. I decided to cut Morgan, the youngest one on the right, out of the shot on the left and replace her head on the right. I use Photoshop Elements to do photo editing. First, I cropped the photographs to get the vertical heights as similar as possible. Photoshop Elements 8 includes a Guided Edit, with a Photomerge: Faces mode. Since Morgan's head was pointed down, I decided to use Maddie's eyes and mouth as my alignment points. I opened both photographs, clicked on my Source photo on the left, clicked the Align icon, moved the three cross hairs to Maddie's eyes and mouth. (Click on photo to enlarge.) I then clicked on the photo on the right and repeated the process placing the cross hairs on Maddie's eyes and mouth. Then, I clicked Align Photos. (This step ensures both photos are lined up perfectly. Aligning the photographs correctly is the key to a successful merge.) Then I clicked on the pencil, drew a "C" around Morgan on the left photo and, voila, Morgan's body on the left moved to the photo on the right. It took me a total of five minutes to merge the two photographs. I tried this technique, for the first time, earlier that day and it took me over an hour. I learned the secret to merging photographs is to crop the photo vertically so they are similar in height (e.g. the sky above Casey's head) should be the same distance.
Here's the photograph I worked on earlier today. A couple of weekends ago, we traveled to Huntsville to celebrate Morgan's 5th birthday. Saturday was the "cookie party," which consisted of nine little girls making and decorating sugar cookies. (It took eight adults to pull this off!) Everyone in the family had eaten so many of those sugar cookies that no one could even think about eating ice cream sundae's after dinner, so the Mardi Gras birthday party continued through Sunday also.
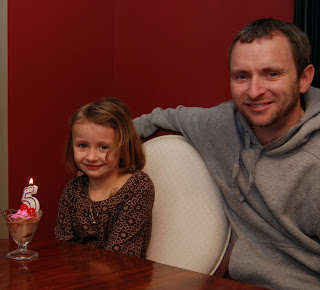 Morgan's favorite dessert is ice cream.
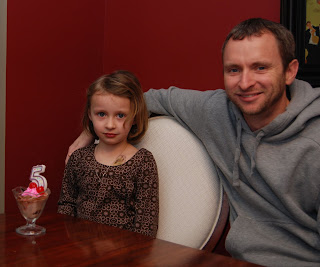 Even the "5" candle was not ready for this shot, but I loved Owen's smile. I looked at both photographs and knew that I didn't like either one of the photos by themselves. My only choice, if I wanted this shot, was to cut Owen out of the photo and merge him with the photograph below. Tip: Notice the distance above Owen's head.
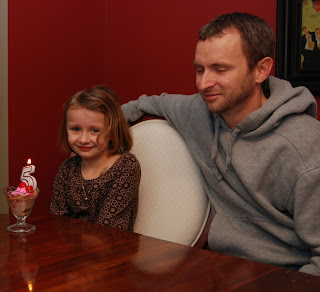 In this shot, it seems Owen is not ready. Notice the difference in the distance above Owen's head in this shot. Once, I figured out that I needed to crop the first photo to match the distance above Owen's head, merging the photographs only took a couple of minutes.
Morgan will only be five once, so you don't get a second chance to capture the precious memories. You grandparents that are reading this know what I mean. Just looking at pictures of my granddaughters instantly makes Jerry and me smile!


